Monday, March 7, 2011

Monday Styles

I know I have been HORRIBLE with posting new styles lately(and by lately I mean the last 2 yrs!), most of it's been due to some of us(yes I'm the guilty one) sleeping in resulting in no time for new styles or if by the off chance there is a new one there is no time for picture taking! Monday's however are a little better, for starters it's late start day my daughter doesn't have to be to the bus till 9:30 so we are up with plenty of time to do hair! So I am going to make a goal of posting a new style every Monday (and some weekends).

To start us off we are having our family pictures done on the 19th so I have been playing around with some styles.

I didn't take step by step shots but it was really simple, all I did was separate a front section of hair. Then starting on one side I french braided it only I didn't pick up hair from both sides just one leaving it raised and creating a kinda crown on her head.

Here you can kinda see the braid. Oh yeah and that is the flower she will be wearing for pics.
Then I just curled the rest of it with of curling iron.
Front.
And a pose with her Pillow Pet!

Tuesday, February 8, 2011

Not hair related giveaway!

A friend of mine is doing a bow tie giveaway on her blog, she makes the cutest bow ties, hair bows/flowers, diaper bags and the cutest little girl tutu's, go check out all of her amazing stuff at La La Lola Handmade Gifts. You can also find her on facebook.

Saturday, January 22, 2011

Star Burst Hair bow.

My mom gave me this gift bow, she thought I might want to try to make a hair bow like it. I've had it since May!! I decided today would be the day to pull it apart and make one for hair.
Things you'll need:

Felt
scissors
hot glue gun
hair clips

1. Start by cutting 7 circles, 3 large (4in), 2 medium (3in), 2 small (2)
2. Take one circle fold in half then in half again, then trace or freehand the design of your petal. (This one was a stair step with a point kinda thing)

3. Carefully cut out each circle, once you've cut it out cut 1/3 of the way down the folds. DO NOT cut all the way to the point.
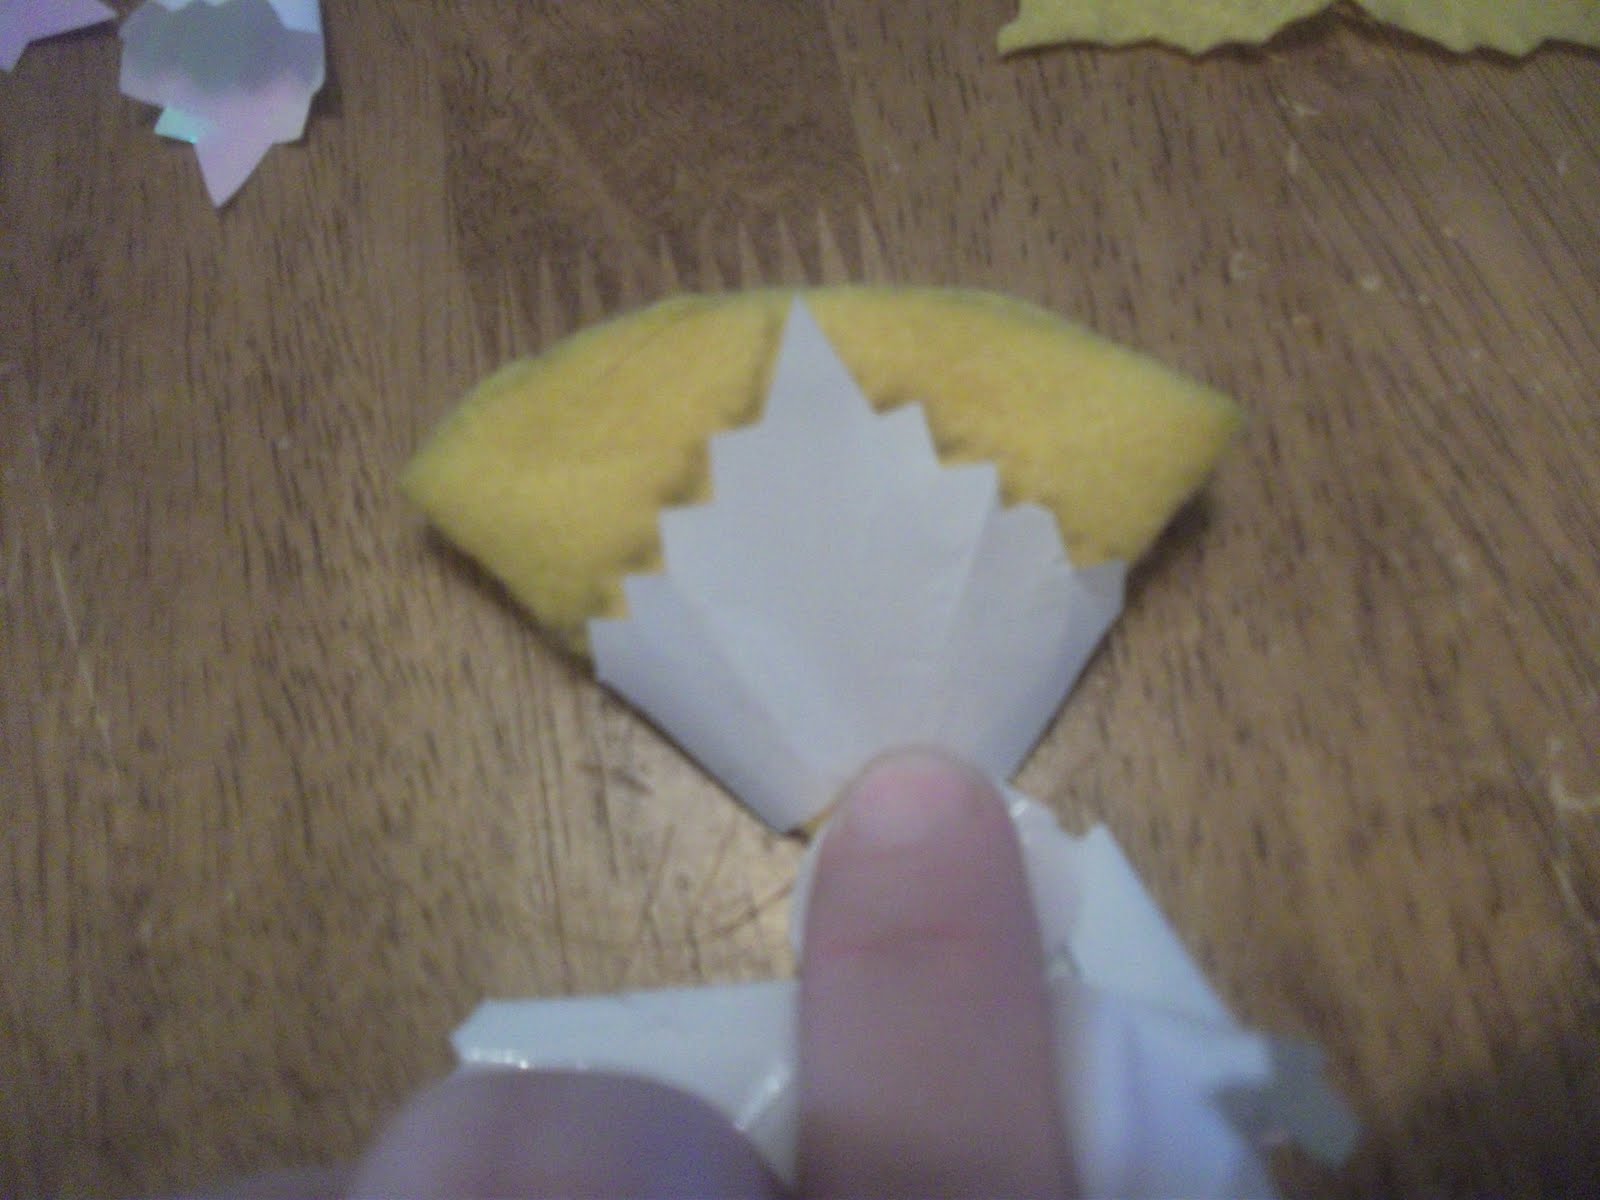
4. When you open them up make 2 little slits on either side of the petal, do this to all 4 petals. Again DO NOT cut all the way through.
5. Fold one side of petal in, put a bead of glue then fold the other side over.
I used a hair clip to hold it till the glue set.
This is what your circles should look like.
6. Start layering your petals, alternating which way they go so all spaces are covered.
Fluff it up a bit and your done, you could put a bead in the middle but I liked mine plain.
7. Glue a small circle of felt on the back to make it stronger, then glue it to a hair clip or head band.


Just remember to pull all the glue stringy's off BEFORE ya take any pictures!!

I thought it turned out pretty good, you can make it smaller or bigger by making more circles. Play with it there are many many possibilities!

Monday, November 8, 2010

Right french braid into left side pony tail

1) Make a part down the middle, go as far as the crown of the head. French braid the right section to the crown then finish braiding to the end of the hair.
2) Comb the left section into a side pony tail and bring the braid across and secure with an elastic.
3)It's hard to tell but I braided the side pony tail and made a bun, I let the ends stick out for that messy look.
Add an accessory, and your good to go.

Originally this style was going to be 2 french braids brought into pig tails but my fingers just didn't want to braid one side, and we ran out of time so I improvised. I thought it turned out really good and she looked really cute at her school assembly where she got student of the month award!

Monday, November 1, 2010

Finally a hair style!!

When I did my daughters hair this morning she pointed out that I haven't been taking pictures of it anymore. I told her I hadn't really been into it lately and she told me to go get the camera so I did. This style isn't anything grand but it's cute and it was quick and easy. I didn't take step by step pictures, but if there's any confusion just let me know and I can do step by step.


1) Start by making an exaggerated part, go to about the crown of the head, like so.

2) Pull the side pieces down and secure with elastic, then pull them back into a pony tail.
3)Once you have your pony tail take a small section of hair, then divide it into 2 sections, then twist both pieces to the left. Take your left twisted piece and cross it over your right piece, continue all the way down, always crossing left over right, this creates your twist, secure each twist with an elastic. I made 4 twists.
4) I took one of the twists and circled it around the pony tail covering the elastic, and secured it with bobby pins.
And that's it, and easy, simple yet cute pony tail. Back view
Front shot. And for anyone wondering she does not have black eyes, it's from her Halloween makeup!

Monday, October 11, 2010

Curly or straight?

I use to have beautiful natural curly hair. I absolutely loved it at least as an adult as a teenager I didn't care for it to much! Anyway it was so easy to manage and if I was in a hurry all I had to do was spray and scrunch, but after I had my 3rd baby my curl decided to be curly no more. That's why I decided to cut it short, if I'm gonna blow dry it I want it to be fairly quick. Anyway yesterday I decided to try something different and let it dry naturally then I curled some little sections with a curling iron. It didn't take very long and it turned out cute, I got several comments on it, someone even said they couldn't decide if they liked it curly or straight better! That made me feel good and it was nice to have curly hair again.

When I got up this morning I thought the curl would be gone or it would be super frizzy but it wasn't. I just sprayed it with a little hair spray separated some of the curls and this was my result..It was nice to not have to re- straighten it (something usually have to do daily). My hubby doesn't usually notice(or care) how I style my hair so I was pleasantly surprised when he asked if I was going to style it like this more! That is the best compliment a girl can get!!

So what do you think curly or straight?

Saturday, June 12, 2010

New color and cut.

I am in Idaho visiting my parents for the summer, it has been so much fun. My mom took me and my girls out for a day at the Salon, Ryne got her hair cut I got a cut, color and some high lights Ellie just watched! We had a blast, Thank you Grandma J.


I had all the red stripped out of my hair, I decided to go back to my natural color of light brown with blond highlights, I love it, it turned out so nice. Here's a side view...Front, sorry these aren't the best pictures, they are from my phone. I finally got a new camera but I have to get a memory card for it, so until then my phone pics will have to do!
I didn't get any pics of Ryne, she really just got a trim cause she wants "to keep it short awhile".